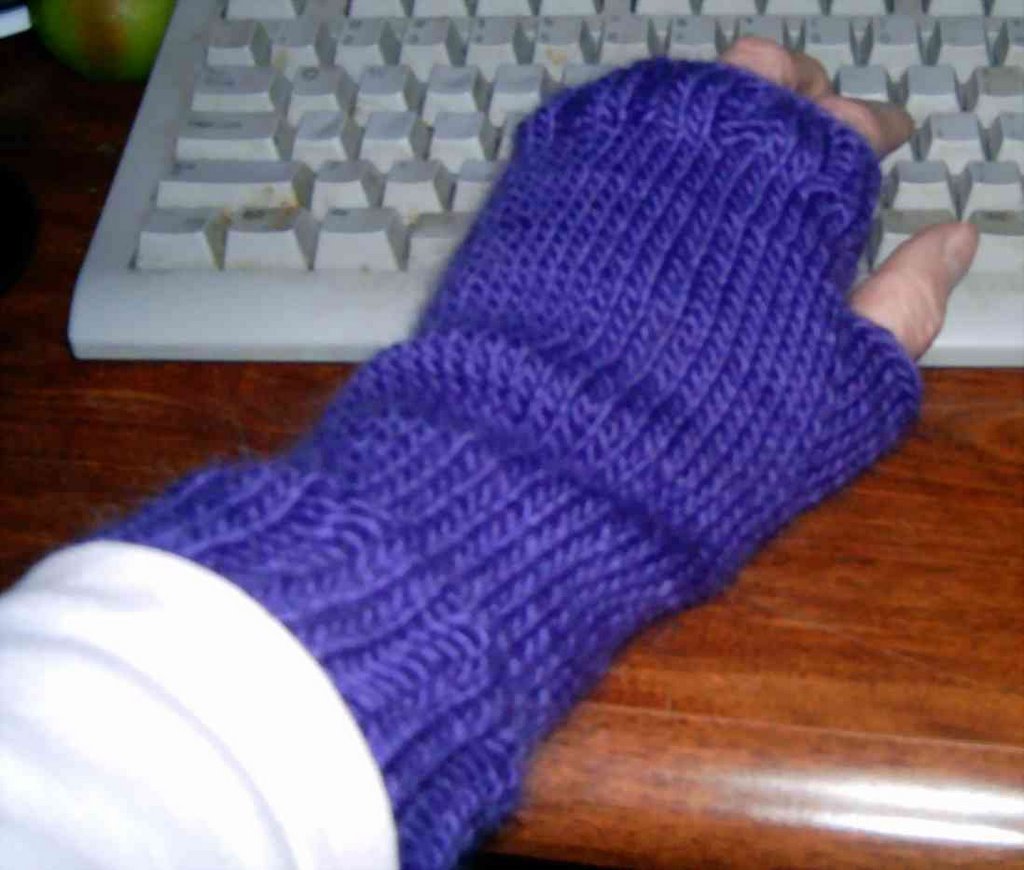
So, I searched though my rather large library of knitting books for a fingerless glove knit on DPNs. To my horror, there were mitts with thumb gussets that were knit flat, and mitts with *holes* in the side for the thumb knit in the round. Since I knew I wanted to use DPNs (I don't like seeming), and I knew I wanted a thumb guesst, I figured I better make my own pattern. This is what I came up with for a toasty warm mitten that allows the wearer to use her fingers!

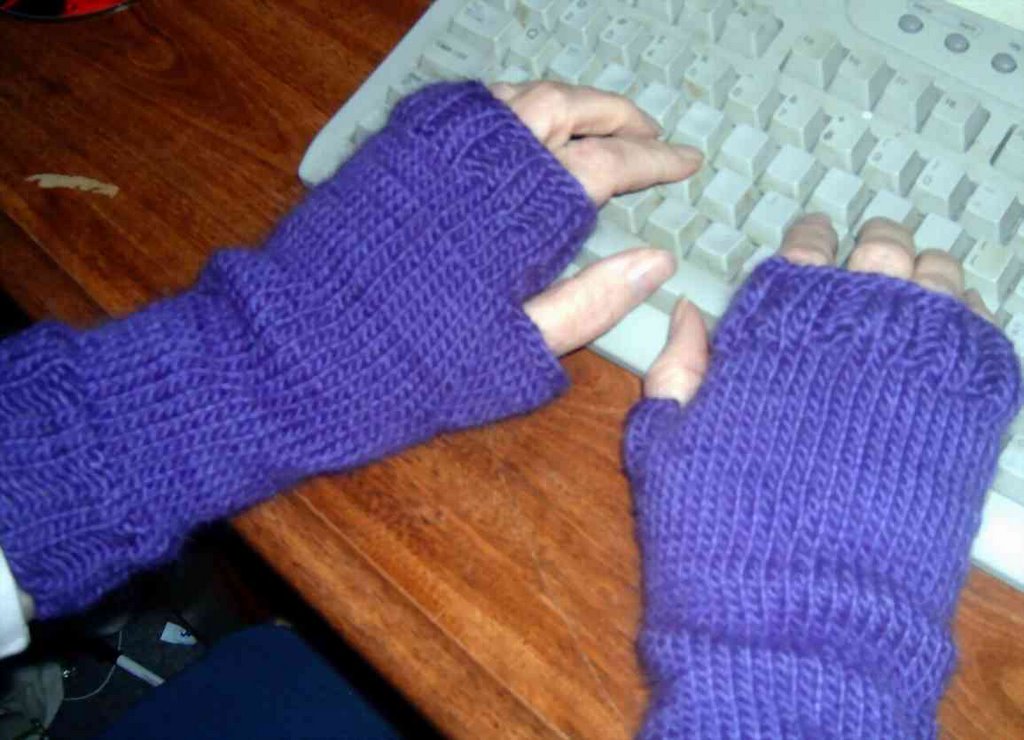
Toasty Fingerless Mitts
1 skein Lamb's Pride Worsted (Should make 2 pairs)
1 set of 5 size 6 DPNs (or size needed for gauge)
2 stitch markers
Yarn Needle
Gauge: 5 stitches = 1 inch
Make 2
Cast on 40 stitches and dived evenly over four needles (10 on each needle). Join. (note, you can mark N1 if you need to, but the mitts are not that big. I just looked for the tail from my cast on edge).
Work k2 p2 rib for 2 inches
Work St st for 6 inches.
On n1: k1, pm, m1, k1, m1, k1 pm
Note: While the pattern states the thumb gusset is made on needle 1, it really won't matter too much where which needle is used to make the guest.
Note: I make one (m1) by knitting into the back loop of the stitch BELOW the next stitch.
*work 1 rd even
Rd 2: k1 sl marker m1 k to 1 st before marker, m1, k1, sl marker, k rnd*
Repeat between (*) until there are 24 stitches on n1 (54 total).
Next rnd, k1, remove marker, k1 BO 14 stitches, k1, remove marker, k rnd.
Next rnd, push sts close together and pop the thumb out, k2, k next st very tightly making sure that it is joined closely to the k2. K rnd.
Work 3 more rnds (until mitt measures 8 inches).
Work k2 p2 rib for 1 inch, BO.
Weave in ends, weave thumb gusset if necessary.